How to Install Undermount Sink to Granite Vanity
Plastic laminate for countertops is durable, resistant to water damage, easy to maintain and affordable. You can choose patterns, colors and edge profiles that you won't find with other countertop materials. Plus, you can use an undermount sink — and you can do it yourself. Installing our undermount sink from Karran required only basic tools. Here's how we did it.
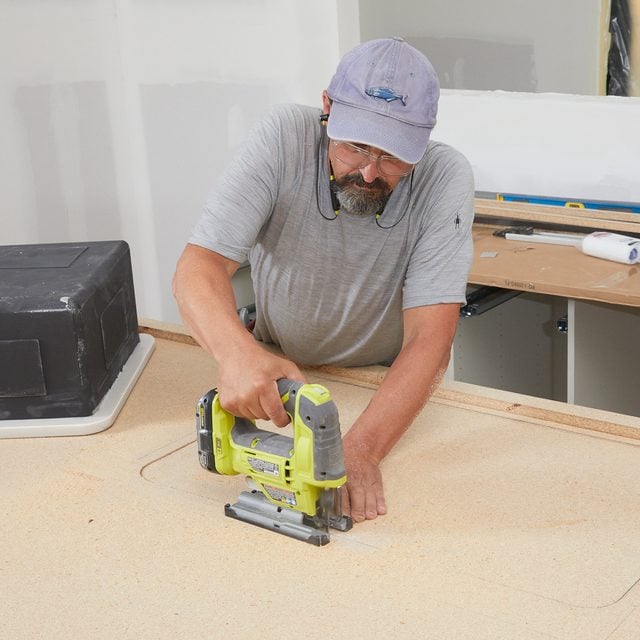
Placing and cutting out the sink
Mark the location of the sink on the substrate. Place the sink 2-1/2-in. back from the front edge of the countertop and centered on the cabinet. When you trace the sink shape onto the particle board substrate, keep your pencil vertical so the cutline is offset about 1/8-in. Drill a 1/2-in. starter hole and cut out the sink opening with a jigsaw.
 Family Handyman
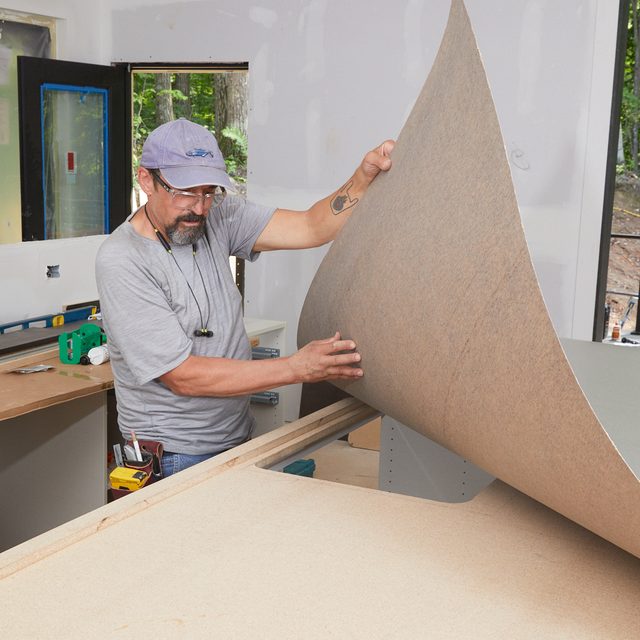
Laying out the laminate
Rough-cut the sheet of laminate to fit the substrate, leaving an extra 1-in. all around. Place the laminate on the substrate and mark the sink cutout on the bottom.
 Family Handyman
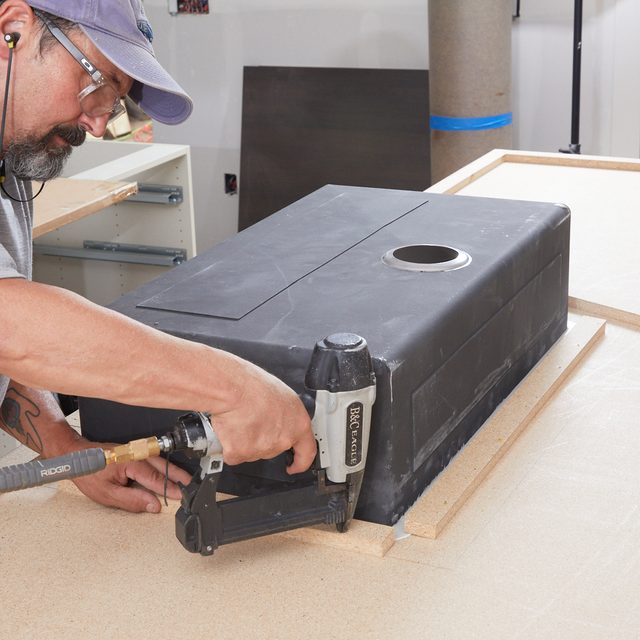
Securing the sink
For a square sink, glue and staple four strips of 3/4-in. particleboard to hold the sink in position. If your sink is round, apply 3-in. x 2-in. blocks around the radius.
 Family Handyman
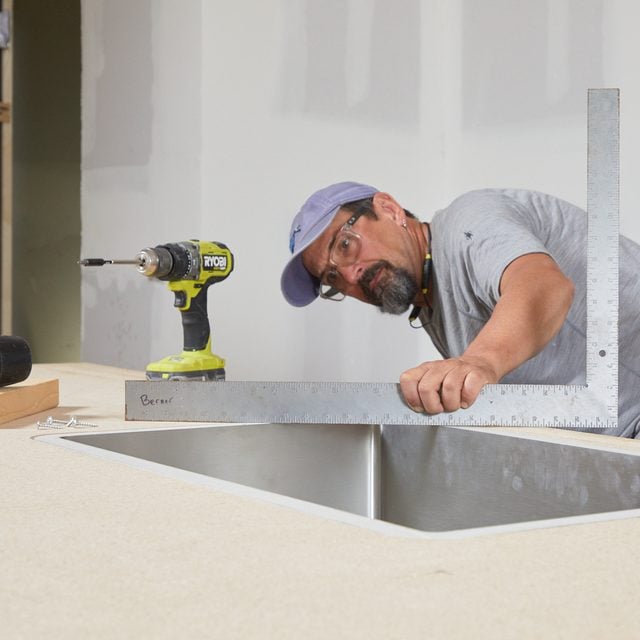
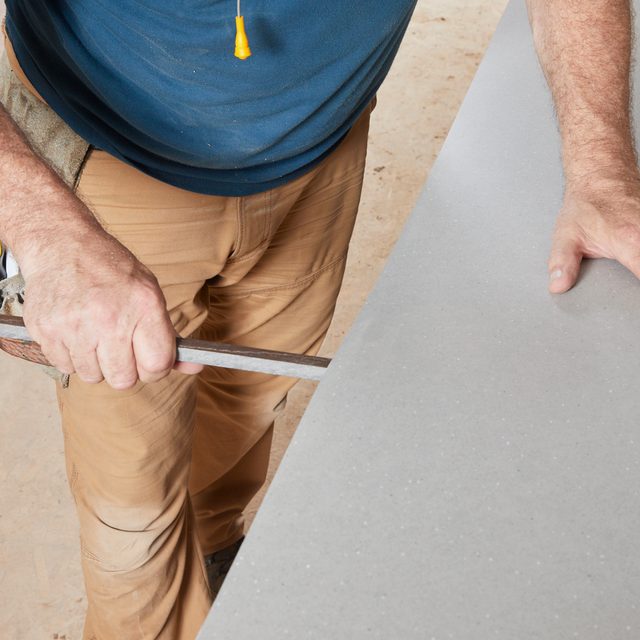
Making sure it's flush
The sink must be flush with the top of the substrate, so use a carpenter's square to check for level. You can make small adjustments with screws inserted through the support boards.
 Family Handyman
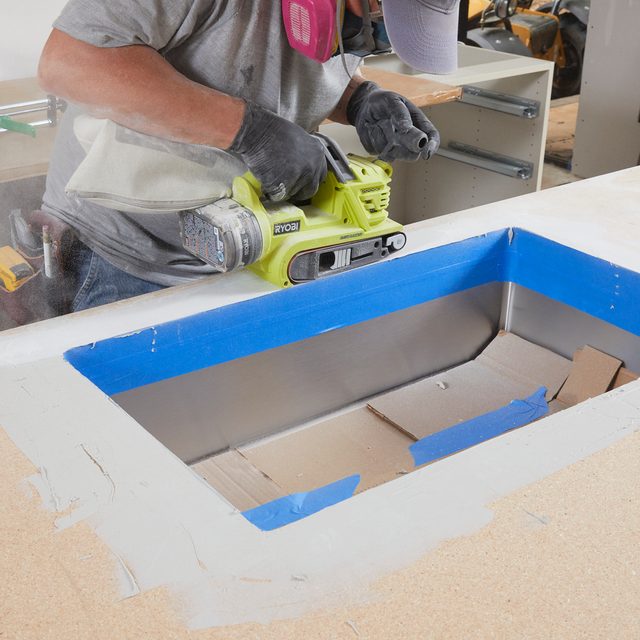
Filling the gap
Apply auto body filler into the gap between the sink rim and the substrate. Once it's dry, sand the filler flush using a belt sander.
 Family Handyman
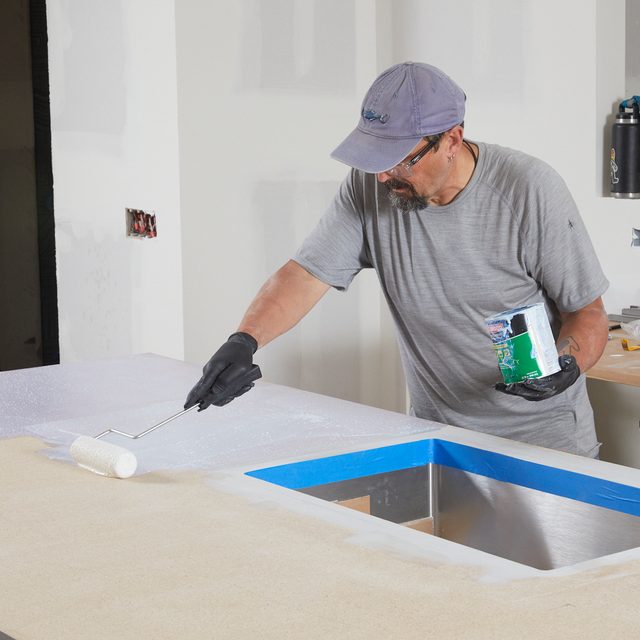
Applying the contact adhesive
Use a 9-in. adhesive roller or standard 1/4-in. nap roller to apply contact adhesive to the substrate and the laminate. Don't apply adhesive to the sink edges or the sink outline on the laminate.
 Family Handyman
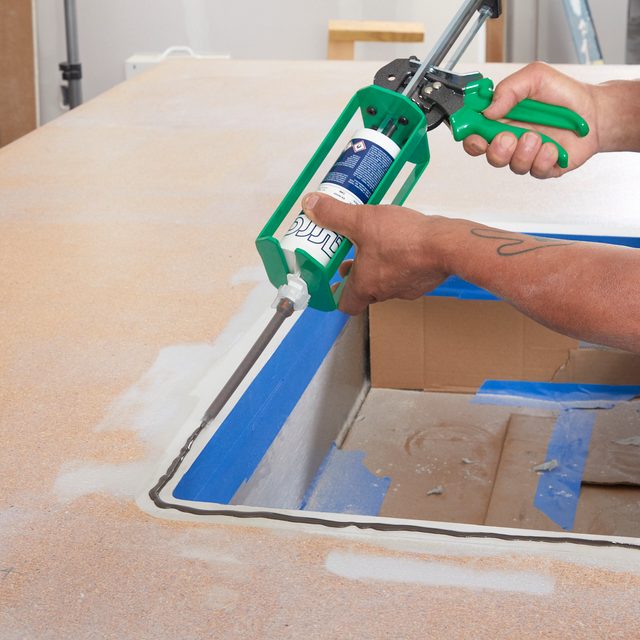
Applying the seam sealer
Wipe the sink top with denatured alcohol. With a caulk gun, apply the seam adhesive to the perimeter of the sink. I masked the top of the sink bowl with painter's tape to protect it from adhesive drips.
Pro tip: Apply the painter's tape so it to overhangs the top of the sink by 1/4-in. Then cut the excess off with a sharp blade. Apply two rows of 2-in. tape to protect the top 4-in. of the walls of the sink bowl.
 Family Handyman
Placing the laminate
Contact adhesive grabs quickly; there are no second chances. For precise placement, set 1/2-in. x 1/2-in. standoff sticks on the substrate and lay the glued laminate on the sticks, making sure it has an equal overhang all around.
Starting at the center, remove the sticks one at a time, pressing the laminate down as you go. With the laminate adhered to the substrate, finish up with a J-roller for a sure bond.
Pro tip: Lightly clamp one or two pieces of leftover substrate over the sink area while the seam adhesive dries, about 30 minutes. You won't have to worry about leaks at that transition.
 Family Handyman
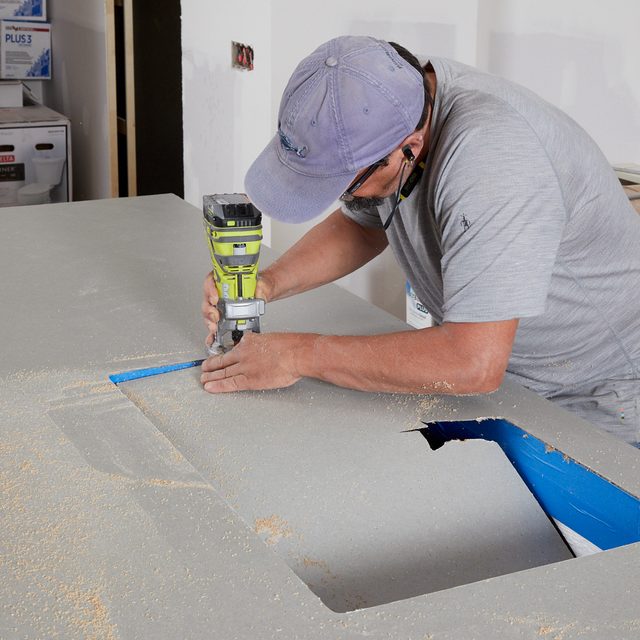
Routing the sink opening
Plunge the router in the center of the sink and cut over to the sink bowl. Trim off the laminate using a 10-degree bevel bit with an oversize bearing (available from Karran). Make a single, slow pass.
 Family Handyman
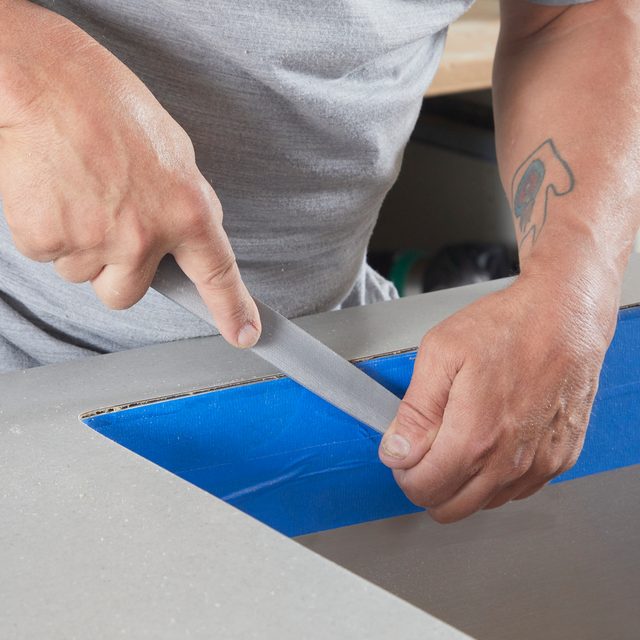
Finishing the edges
File the laminate flush with the sink wall using a plasti-cut file. Use a round file for corners. For the final finish sanding, use 80- or 60-micron paper, focusing on the upper 1/4-in. of the bowl wall and the laminate.
Pro tip: Tape the bottom end of your file so you don't inadvertently scratch the sink bowl.
 Family Handyman
How to Install Undermount Sink to Granite Vanity
Source: https://www.familyhandyman.com/project/how-to-make-install-flushmount-sink-countertop/